Creating a New Project
Atlas gives you a blank slate when you sign in for the first time, so your first step will probably be to create a new project. A "project" is any collection of files that will be combined into a single output. For example, a book might be one project, a presentation might be another, or even a theme could be a project. Atlas makes it very easy to create new projects in your account. On the Projects listing page, simply click "New Project" to get the ball rolling.
You'll get taken to a page where you can define the title and description for your project, and choose a project template to pre-populate your new repository with some skeleton files based on the kind of project you're making. Learn more about project templates below.
Click "Create!", and Atlas will add a new repository to your Atlas account, pre-populated with skeleton files based on the project template you chose.
Project Templates
To help you get a head start, we've created a few different project templates that you can choose from when creating a new project. These templates contain a handful of skeleton files and/or folders based on the kind of project you're creating. For example, the "Book" template includes skeleton files for a titlepage, copyright page, preface, chapter, and appendix. The "Basic" template gives you just one chapter file and the required atlas.json file. If you want an absolutely naked, empty repository to start with, choose the "Bare" template.
Note
Skeleton Sample Files
The skeleton files that come with the "Book" template are samples intended to help you get started writing and to serve as an exemplar of some common markup. However, Atlas doesn't require any specific organization or file-naming conventions. You can place all of your content in one file, break it into as many files as you want, or utilize whatever directory structure you prefer.
You can also create a new Atlas project by importing an existing project from GitHub or by taking advantage of Atlas's conversion services.
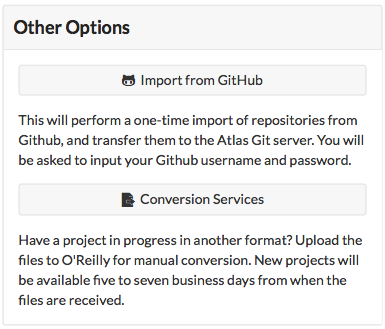
Import from GitHub
If you have an existing project in GitHub that you want to import into Atlas, you can use the "Import from GitHub" tool. Click this button, authorize Atlas to access your GitHub account, and then you'll see a list of your existing GitHub projects.

Click the "Import" button to the right of the project you want to add to Atlas. Atlas will let you know if it was able to successfully import your files, and will give you a link to get started writing and building.

Conversion Services
If your agreement includes use of these services, the Conversion Services button allows you to upload external source files for conversion to a new Atlas project. Upload Word, InDesign, PDF, or ePub files, and you'll be notified when your converted project is ready--five to seven business days.
Once you have some projects in Atlas, you'll see all your existing projects listed on the Projects page every time you sign in.
Select a project from the list and you'll be taken to the project dashboard, where you'll see a list of all files in the project, and have access to the build tools.
Warning
A Warning About Split Source
When you import a project from GitHub into Atlas, you are essentially creating a copy of the files, that you will be maintaining separately from the files in GitHub. If you want to keep both sets of files up to date with the same changes, you'll need to add your repositories as a remote on a local checkout. You can learn about remotes here.